Building SuperCollider 3.7.0 from Source (Debian)
A few months ago we published an introduction to the audio programming language SuperCollider here on LMP. With the recent announcement that SuperCollider had reached 3.7.0, we Debian Linux users suddenly find ourselves behind-the-times regarding our SuperCollider packages which are likely to be at 3.6.6 for some time. If you want 3.7.0 now (or any bleeding edge version in the future) you have no choice but to build it from source. Fortunately, that isn't as daunting a task as it may seem. Let's break it down into its steps:
- Install the dependencies and grab the latest SuperCollider source code
- Use cmake to build the application
- Install and link to the executable
Most of this information is in the install helpfile. Unfortunately, that document is not as clear as it could be. This short tutorial aims to clarify a few salient points. Let's start with the dependencies.
1. Install Dependencies / Grab Source
The following packages are listed in the installation help file under Debian. I can confirm these packages work on Ubuntu 14.4 at the time of this publication. To install these packages, open a shell (from the launcher type 'terminal') and copy the entire contents of the below code into the terminal window. Please be aware that, because the below code doesn't wrap to the page it looks like the list is incomplete. Triple-click it to select the entire line, then in the Terminal right click and choose "paste."
sudo apt-get install build-essential libjack-jackd2-dev libudev-dev libsndfile1-dev libasound2-dev libavahi-client-dev libicu-dev libreadline6-dev libfftw3-dev libxt-dev libcwiid-dev pkg-config cmake subversion git qt5-default qt5-qmake qttools5-dev qttools5-dev-tools qtdeclarative5-dev libqt5webkit5-dev qtpositioning5-dev libqt5sensors5-dev
It will take a while to install all of the packages and their dependencies. If you have any issues with error messages, please comment below and we will try to help you out!
Now let's create a folder and download the latest source code into it using git.
1. Back in the shell, type:
cd
This means "change directory." If you just type 'cd' without supplying a directory it will default to your home directory. From here we can create a source folder.
2. Type:
mkdir sc3-7-src
This will create a folder called 'sc3-7-src' in your home directory. You, of course, can name the folder whatever you like.
3. Now we will change directory into the source directory we just created:
cd sc3-7-src4. Next, use the 'git' command to download the latest source:
git clone --recursive git://github.com/supercollider/supercollider.git
5. When that is done, change directory into the source folder we just downloaded:
cd supercollider6. Now let's make a build directory so we don't krunk up the base folder:
mkdir build
7. And finally change directories into that folder:
cd buildNow we can actually begin the build process.
2. Build the Application
cmake -DSC_ED=OFF -DSC_EL=OFF -DSC_WII=OFF -DSC_VIM=OFF -DSC_IDE=ON ..The above should complete in relatively short order. If you get any errors at this point, you are probably either missing a dependency or entered the above command incorrectly. If you are using a Linux distro other than Debian/Ubuntu, check the errors for specific libraries and install them manually. I have done this for #! Linux (when it was still alive) and managed to get it after a few attempts. Again, if you have issues, please post the error output to the comments below.
2. Once the config has completed we are ready to build. Type:
makeThe above will build the IDE, language, server, etc, from the source using the options you selected in Step 1 above. This will take some time.
3. When the above has completed, you will want to install the applications and associated files to the standard paths. Use the below command to do so:
sudo make install4. After the system installation has completed, run the following command to update your systems links to include our new installation. Type:
sudo ldconfig
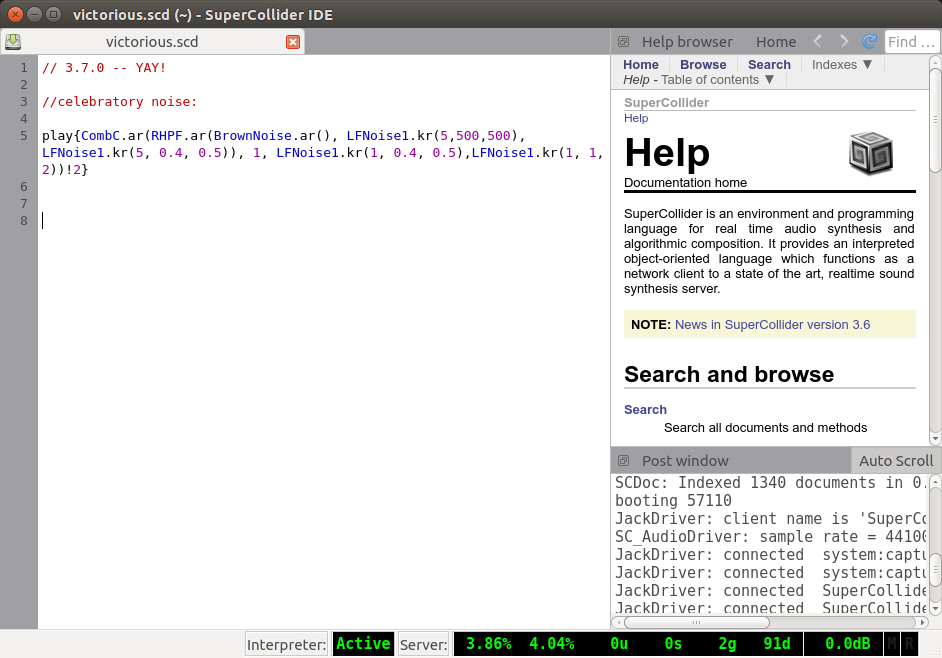
That's it! You can test your new install by running the following to launch the IDE:
scide
Here's a screencap of my victorious install:
[EDIT Wed 23 March 2016]
Because of a bug in QT, I found it necessary to remove appmenu-qt5 in order for my keyboard shortcuts to work*. If ctl+. does not work to stop audio, close scide and run the following in a terminal:
sudo apt-get remove appmenu-qt5
You should now be able to re-open scide and have working shortcuts. I'll update this post if/when a fix is available for appmenu-qt5.
*Thanks to Gil on the nabble supercollider forum for the fix!